This is more efficient as WSL doesn’t have to deal with the overhead of a usual VM setup, meaning it requires fewer resources. WSL also allows you to use both Windows and Linux tools on the same files, as you’re able to directly access the Windows files from Linux. And while there are numerous such reasons to use WSL, the one that’s most relevant to us is that WSL lets you use a Linux terminal on Windows. As such, we’ll focus on WSL and the steps to install a Linux terminal using it in this article.
WSL 1 and WSL 2
Microsoft first introduced WSL in 2016 with the Windows 10 version 1607 Anniversary Update. WSL 1 used the LXSS Manager Service (particularly the lxss.sys and lxcore.sys drivers) for interactions between Windows and the subsystem. WSL 1 didn’t utilize virtualization and instead made direct use of some of the hardware and the host file system, which had some implications. For instance, the virtual network adapter would be bridged to the host NIC, meaning the Linux distribution would have an IP address in the same network as the host machine. WSL 2 was released with the version 2004 update in 2020. It made considerable changes to the architecture to increase file system performance and support full system call compatibility. WSL 2 utilizes a specific optimized set of Hyper-V features to run the Linux kernel inside a lightweight VM. The hardware components are virtualized as well, but because this VM runs behind the scenes, the user experience is no more complicated than before. The WSL 2 VM uses a full Linux kernel that’s optimized for best performance and auto-serviced via Windows Updates. And while WSL 1 stored the Linux files on the Windows drive, WSL 2 uses a virtual hard disk formatted with ext4. This essentially means that WSL 2 offers way better performance, compatibility, and support for GUI applications. WSL 2 is only supported on Windows 11 or Windows 10 version 1903 or later. Aside from some very niche scenarios, you should always opt for WSL 2, provided it’s supported on your Windows build. With all that said, we’ll first talk about installing WSL 1. But if you just need steps to upgrade to or install WSL 2, you can skip ahead to the next section.
Install Linux Terminal For Windows
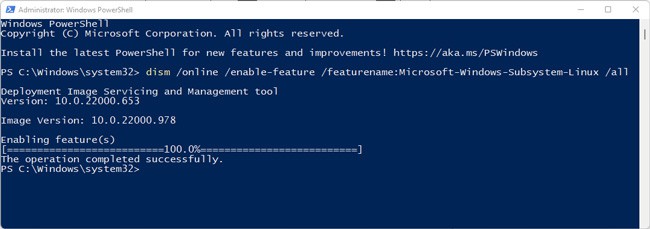
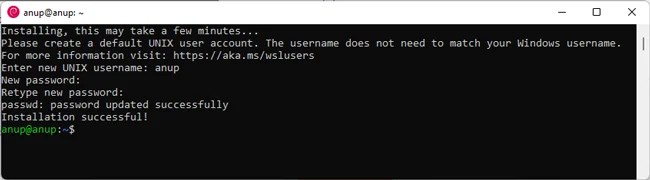
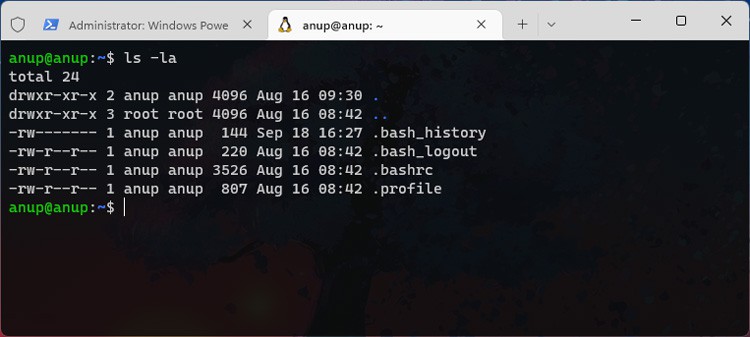
Here’s how you can install a Linux terminal with WSL 1: You can manage WSL’s Linux distros via Powershell or CMD with the wsl command (eg. wsl ls -la), or you can enter bash to open a Bash shell. Microsoft recommends using Windows Terminal, as it allows you to open and switch between multiple distros and command lines easily.
Install or Upgrade to WSL 2
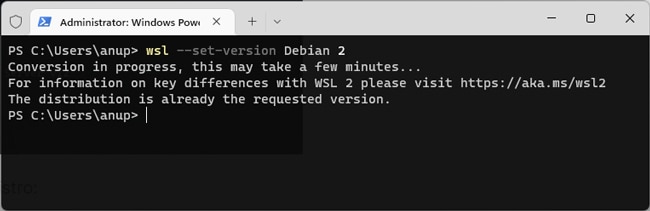
As WSL 2 utilizes virtualization, you must first enable hardware-assisted virtualization via the BIOS. You’ll find the virtualization option (AMD-V, SVM, VT-d, VT-x, or something similar) in the Advanced or CPU Configuration section. Afterward, all you need to do is run the wsl – install command. This command will automate everything, from enabling the required features to installing WSL and the default Linux distro (Ubuntu). The last part won’t be satisfactory to a lot of users. As such, we’ll now talk about how to perform other tasks like installing specific Linux distributions.
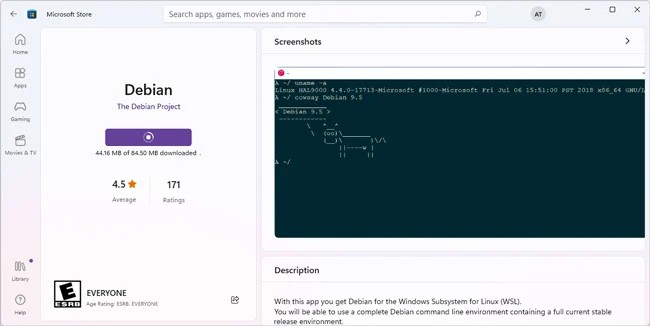
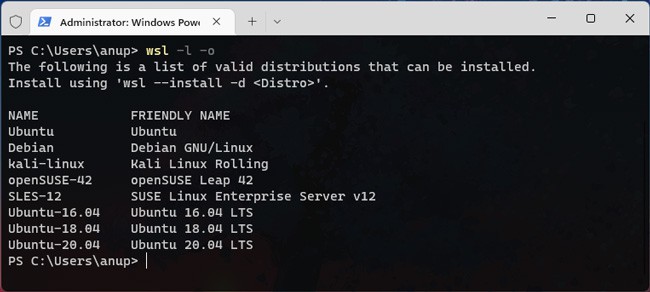
To list the Linux distros available through the WSL Store:wsl -l -oTo install WSL with a specific distro:wsl – install – distribution
Troubleshooting Common Issues
When installing WSL, users often encounter some errors. You can check the troubleshooting guide from Microsoft for a detailed list, but we’ll address the common ones right here:
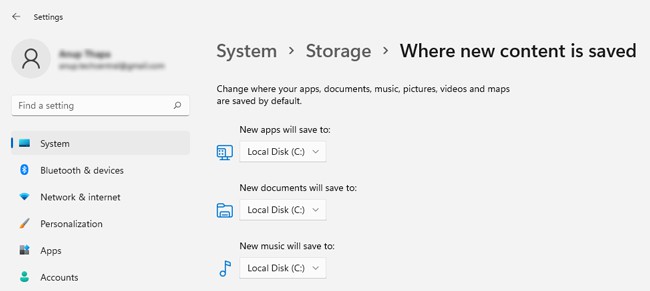
Installation failed with error 0x80070003Go to Settings > System > Storage > More / Advanced Storage Settings > Change where new content is saved and ensure new apps save to the system drive (usually C:).Error 0x80070003 or error 0x80370102Ensure virtualization is enabled in the BIOS.WslRegisterDistribution failed with error 0x8007019eEnsure the WSL feature is enabled. If it’s disabled, you can enable it by running the following command in an elevated PowerShell window:Enable-WindowsOptionalFeature -Online -FeatureName Microsoft-Windows-Subsystem-LinuxError: Windows Subsystem for Linux has no installed distributions.WSL distributions are user-account specific. So, ensure you installed the distros on the same account you’re using right now.Error: WSL 2 requires an update to its kernel component.If you manually installed WSL 2 instead of using the command we showed above, you must also install the kernel update package. Additionally, you should also ensure the Virtual Machine Platform feature is enabled by running the following command in PowerShell:Enable-WindowsOptionalFeature -Online -FeatureName VirtualMachinePlatform